MenuStart a project

01How a cellar comes together

The Process

Four stages, from the room itself to the finished design — followed here on one CRu cellar design from 2022.

The model below is rebuilt from that design’s drawing set: its plan, elevations and specified materials. It shows a design, not a photograph of a finished room.

01Stage 1 of 4

Start with the space

Every cellar is designed for one room. The first conversation is about that room, the collection it will hold and how you want to use it — with you, or with your builder, architect or designer.

Photos help from the start: of the room, its plans or ideas you like. They can go with your first inquiry.

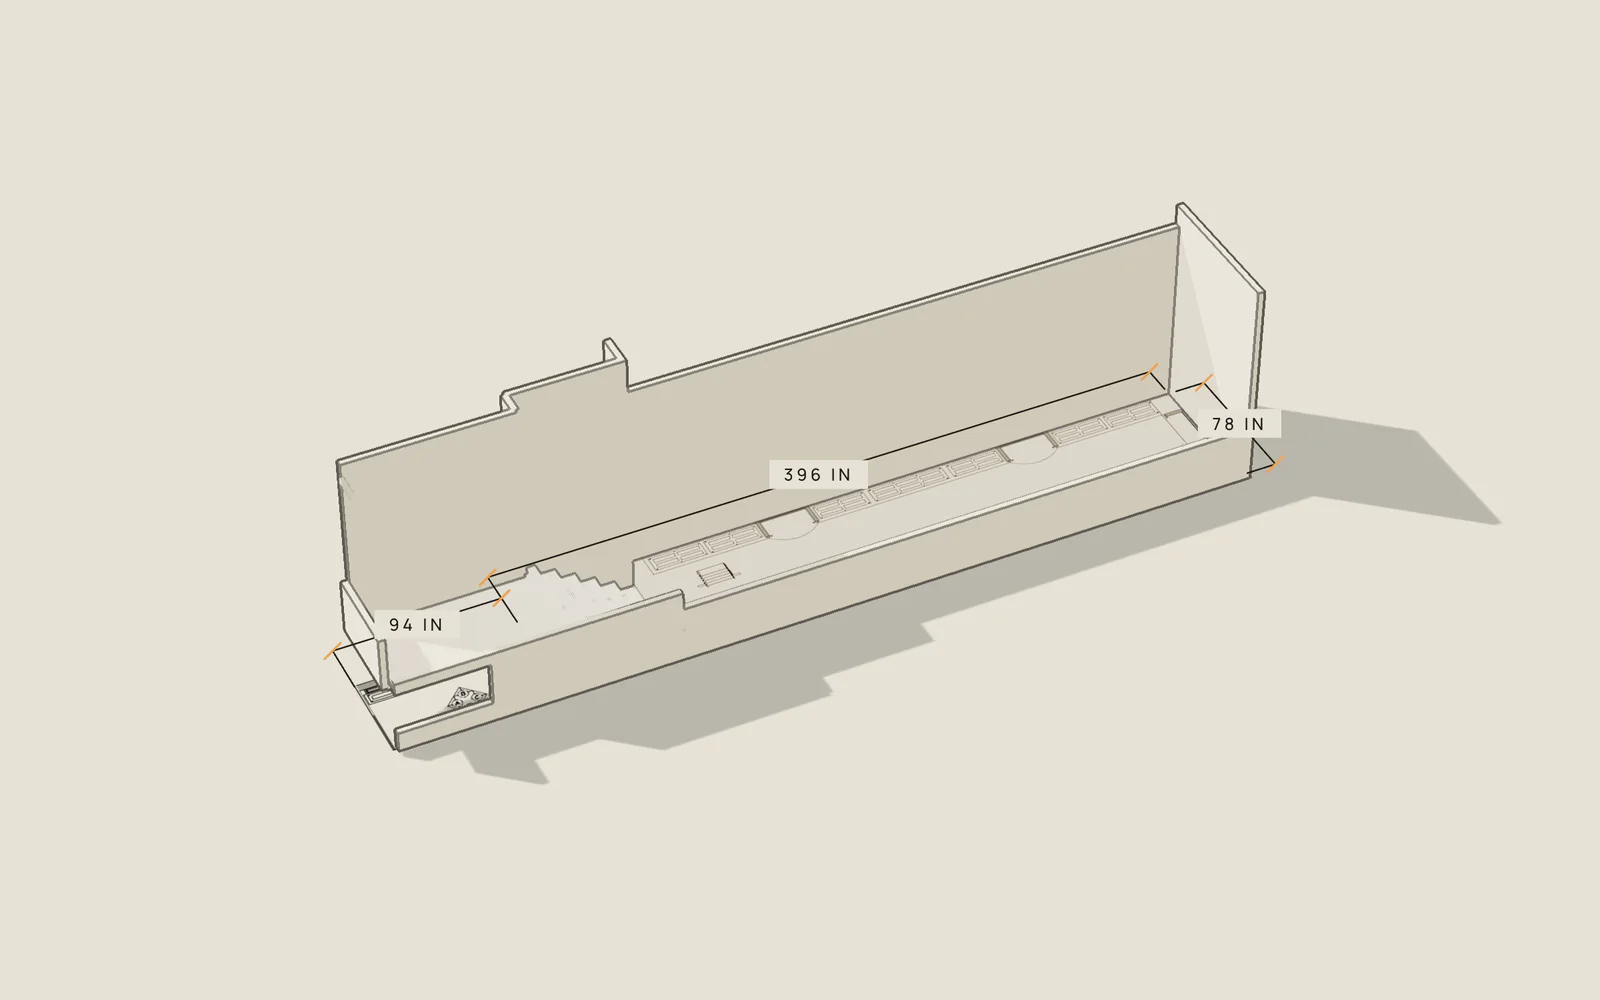
On this design’s floor plan

  • 78 in wide, wall to wall
  • A 94 in raised landing
  • 396 in from the top step to the back wall
  • Six steps down into the room
The cellar’s room as a white model on drawing paper: a long, narrow room with a raised landing and six steps down, its three plan dimensions drawn beside it.

02Stage 2 of 4

Concept by hand

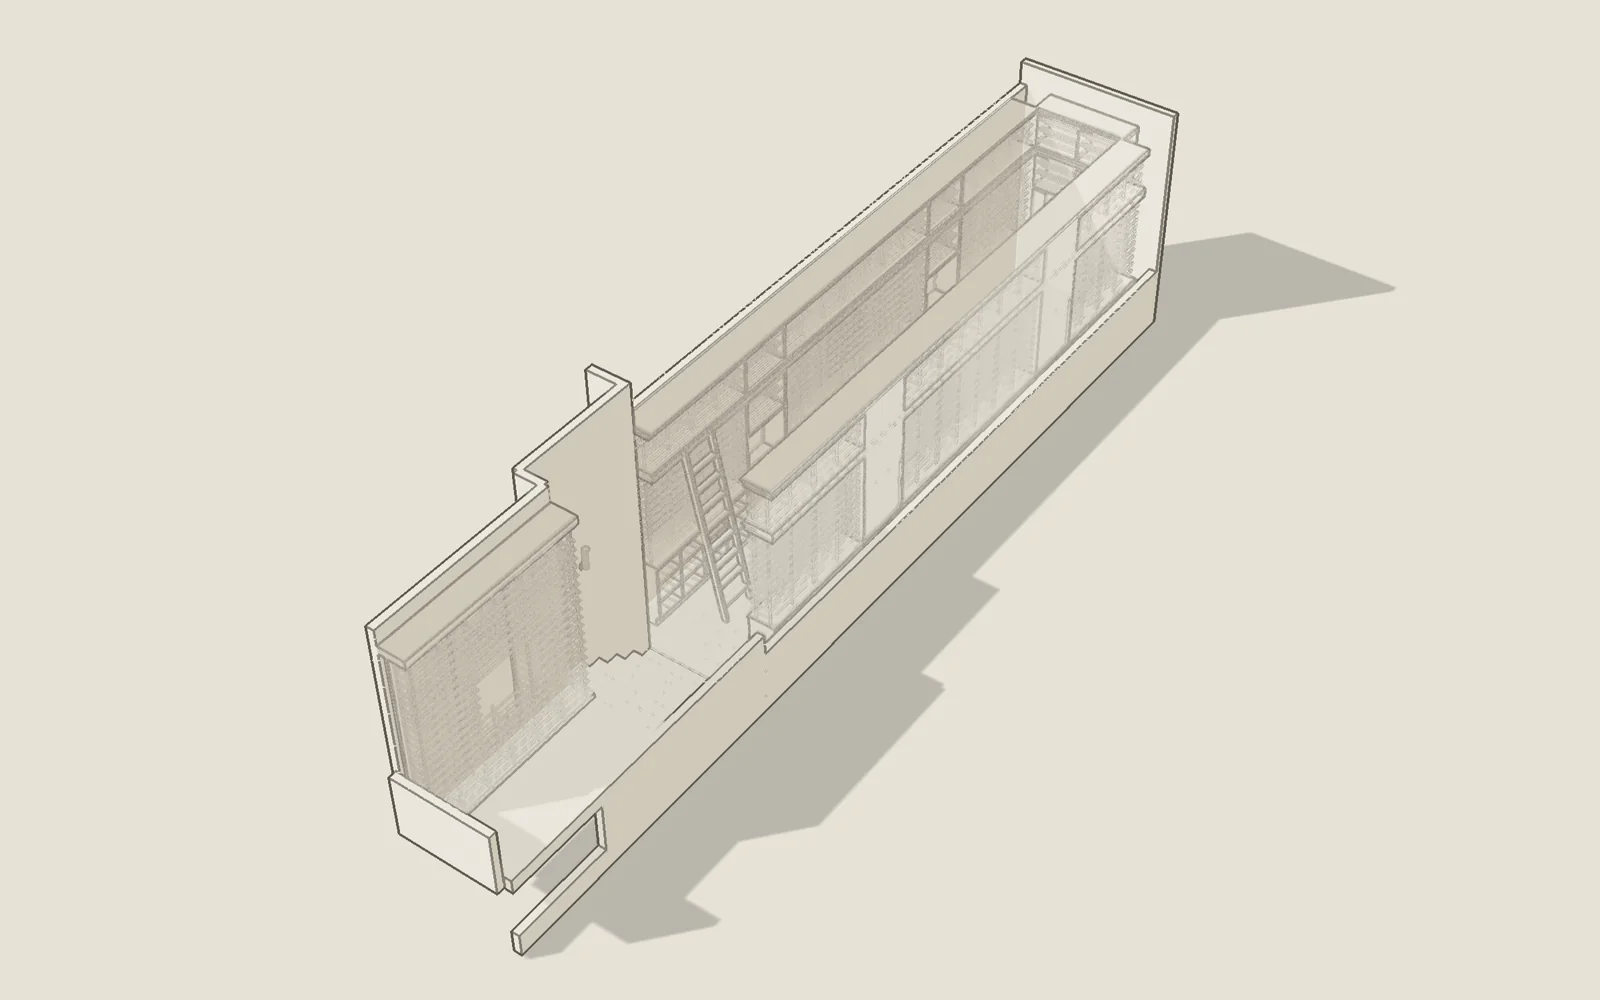
CRu turns that conversation into a first sketch, drawn by hand. It sets out the idea of the room before any of it is engineered.

The idea of this room, as its drawings record it

  • Storage along both long walls
  • Two curved niches on each side
  • A display wall at the back
  • A library ladder on a rail
  • A lit display at the entrance, backed in onyx

Sketched here from the finished drawings. CRu’s working sketches are not published.

Pencil lines inside the white model: storage along both long walls, curved niches, a display wall at the back and a ladder on a rail.

03Stage 3 of 4

Refine in CAD

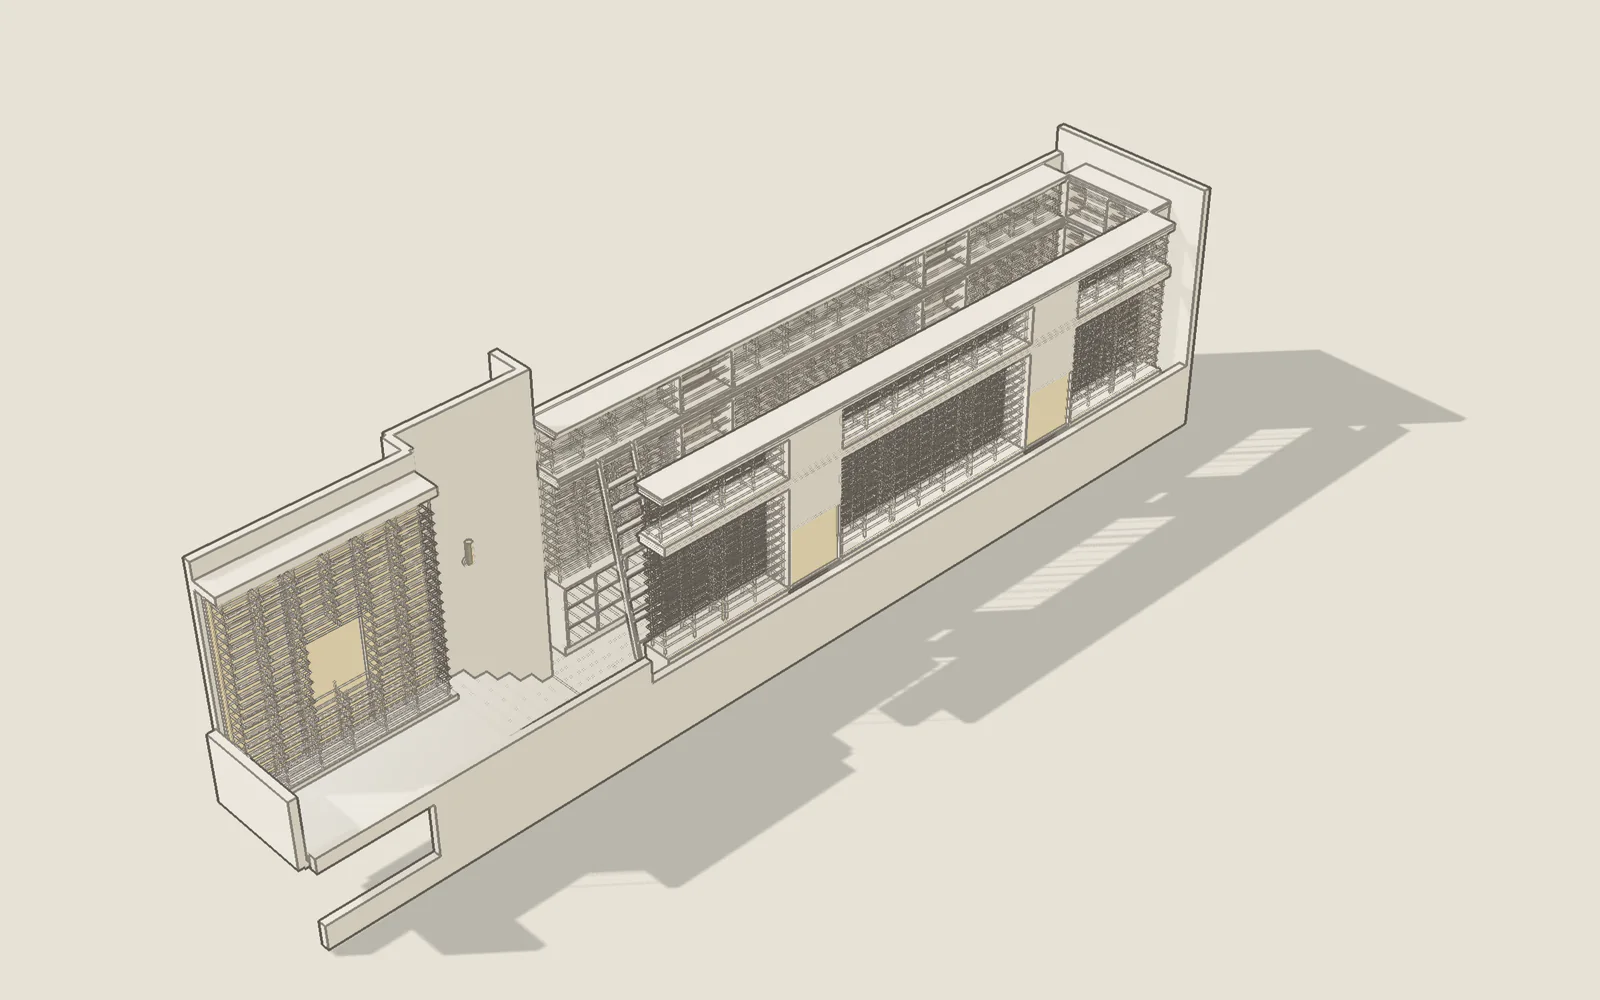
The manufacturer draws the design in CAD, to the room’s dimensions: plan, wall elevations, perspectives and a checklist of materials and options. The drawings go back and forth — with you, and with your builder or designer — until everything is approved.

This design’s drawing set, fourteen sheets

  • Unfinished sapele, black hardware, a clear satin ladder
  • ¾ in cabinetry, 1¼ in countertops
  • Two niches left open for chairs
  • Power and switch wiring located before sign-off
The same design resolved as precise parts: cabinets, black rods, clear cradles, counters and cornices, shown in pale grey on drawing paper.

04Stage 4 of 4

Bring it to life

The manufacturer builds to the approved drawings. CRu coordinates the installation on site: the racking and, where the project includes them, cooling, doors and insulation.

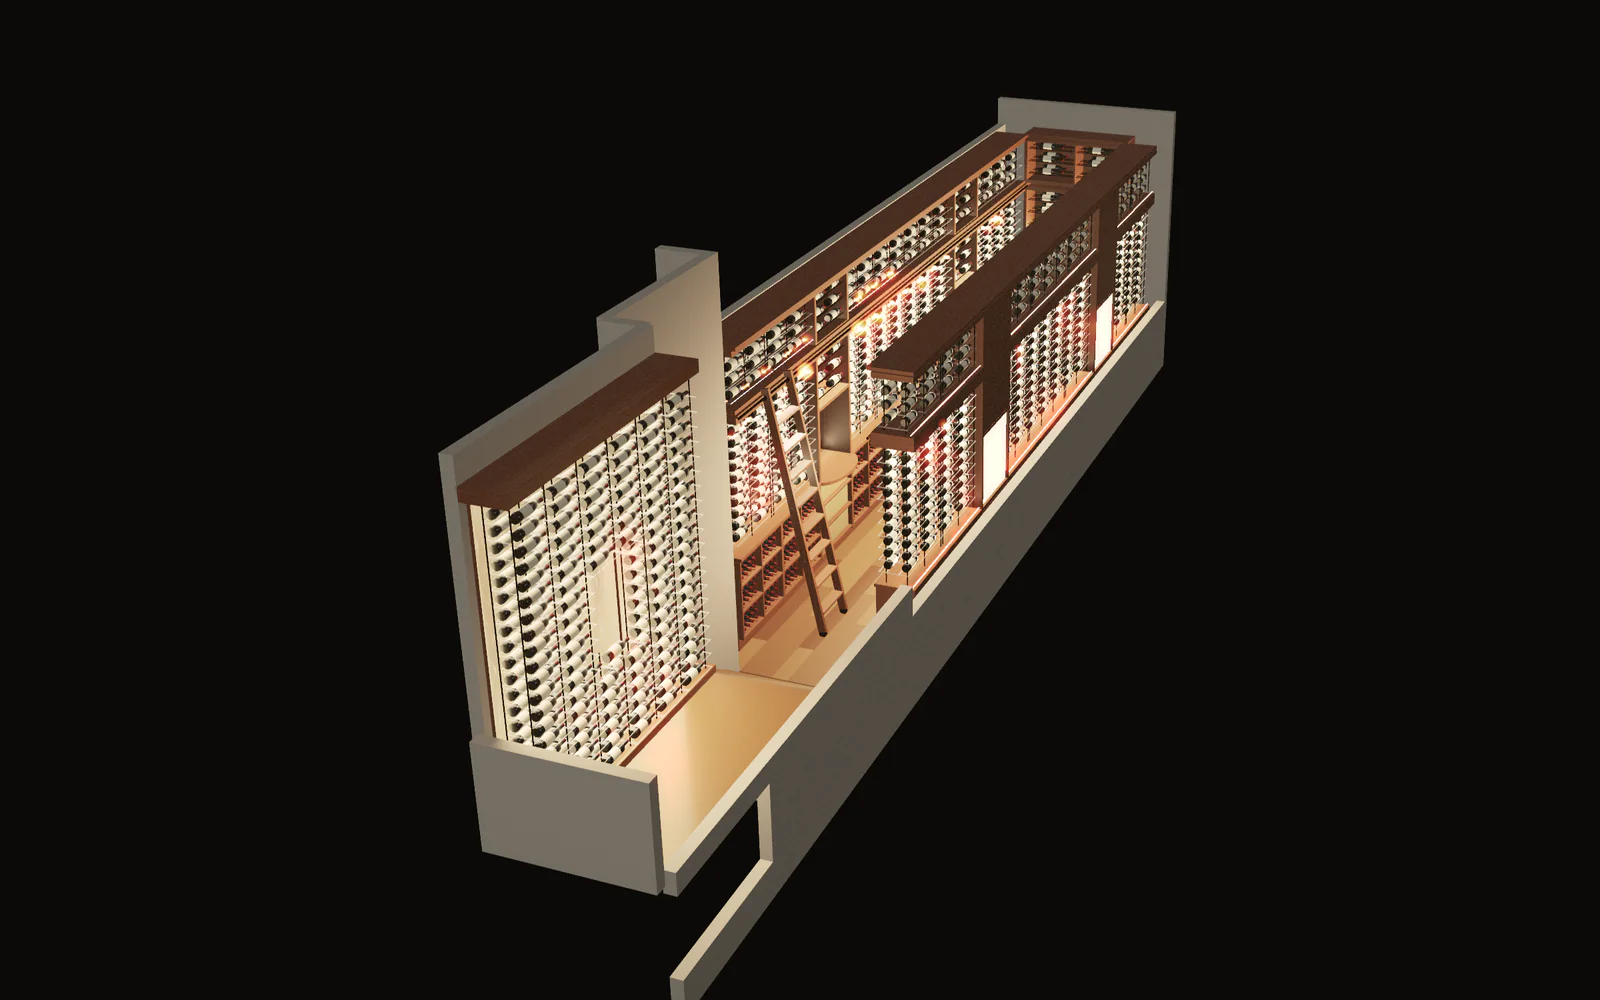
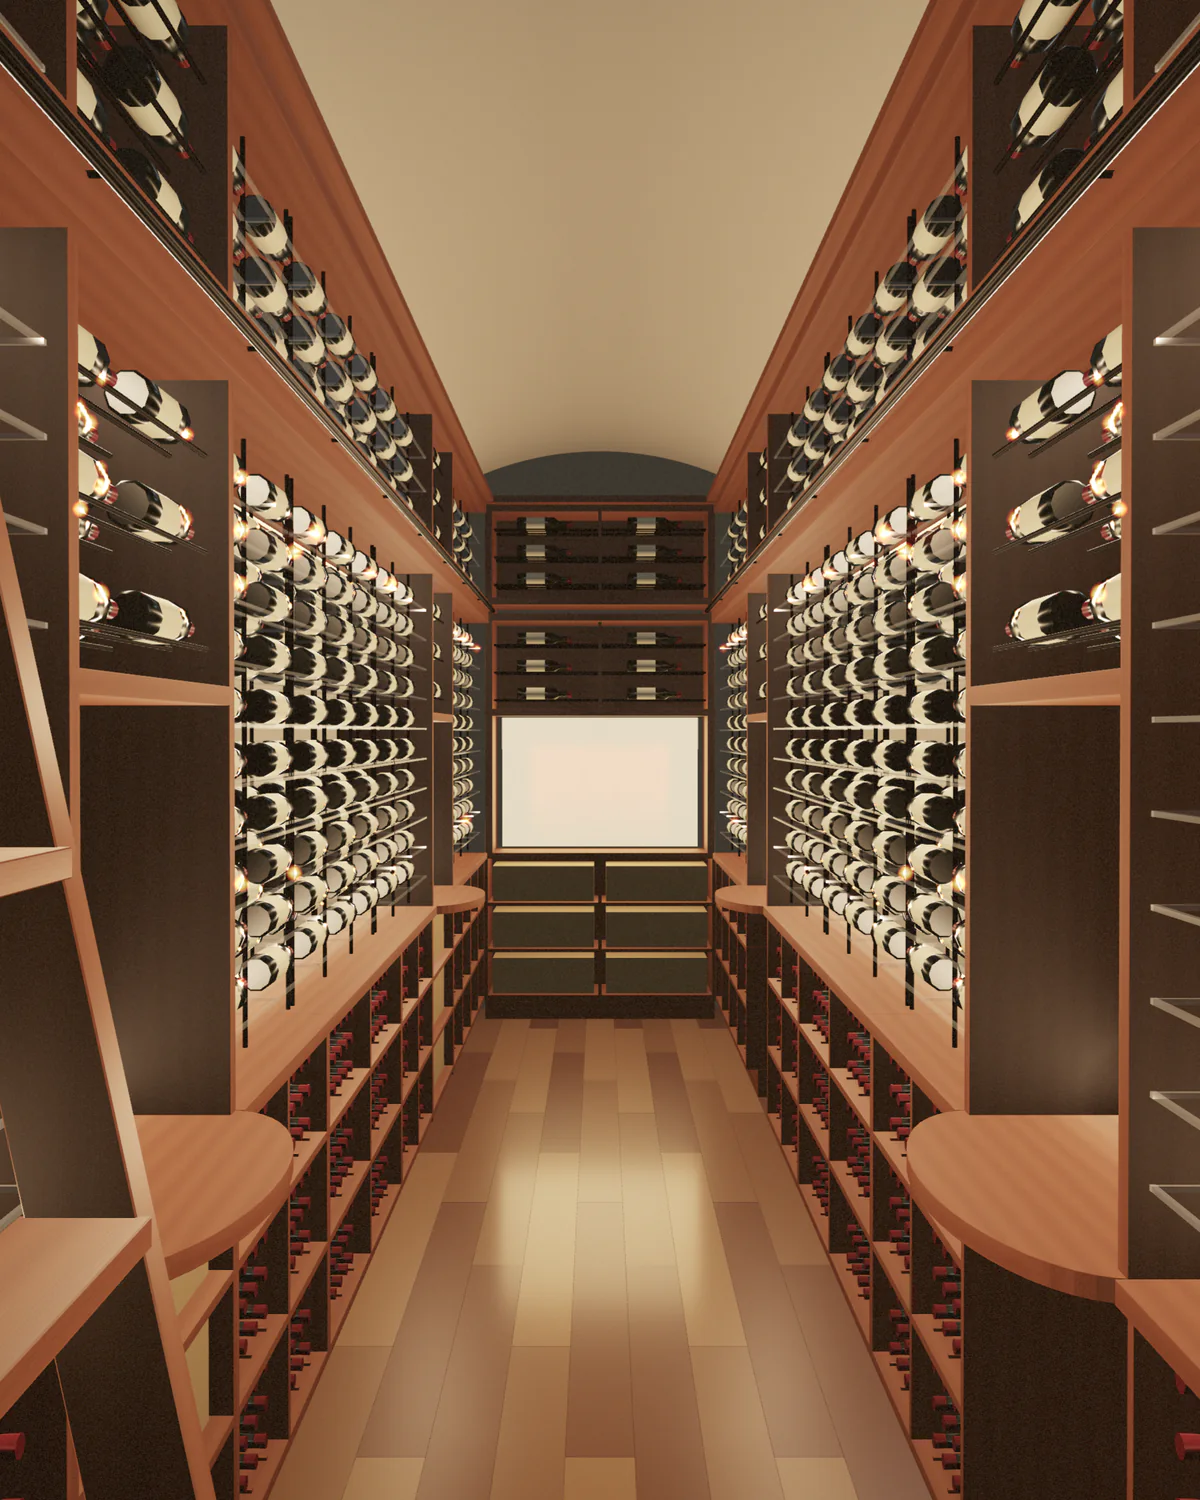
The light, where the drawings place it

  • LED runs along both long walls
  • Etched LED panels at the back and in each niche
  • Onyx light boxes at the entrance

Finishes, lighting and bottles in the model are illustrative, as the drawings’ own notes say of theirs.

The finished design in the dark: sapele cabinetry, clear cradles and black rods lit by warm LED strips, with bottles in the racks.

06Who does what

One room, drawn by several hands.

  1. 01

    You

    The room, the collection and how you want to use it. You review the drawings as they develop and approve them.

  2. 02

    CRu

    The conversation and the first sketch, the choice of systems, coordination with the manufacturer, and the installation.

  3. 03

    The manufacturer

    The CAD drawings, then the build to the approved design.

  4. 04

    Your builder, architect or designer

    Works on the drawings with you and with CRu, whenever they are part of the project.

07Begin

Start withyour space.

Tell us about the room, the collection and your timeline, and add photos if you have them.

Your inquiry goes to CRu directly, and you hear back personally. Bring your builder, architect or designer in whenever you like.

Start a projectSee projects

The design on this page, rendered · illustrative